Set up my Web Application Firewall (WAF) and CDN
Required: If you purchased Website Security after 11/14/2023, jump to the new procedure.
If you purchased a Website Security, there are a few steps you'll need to take to activate the Web Application Firewall (WAF) and Content Delivery Network (CDN). The Content Delivery Network (CDN) will automatically start working once the WAF is activated.
Notes:
- Does your WAF/CDN seem to be missing features? Here's what you need to know.
- If your Domain and Website Security plan are in the same GoDaddy account, it only takes a few minutes to complete. Once set up is complete, you won't be able to edit the DNS records for the website associated with the WAF. If you need to edit those records, contact customer support.
- Go to your GoDaddy product page.
- Next to Website Security and Backups, select Manage All.
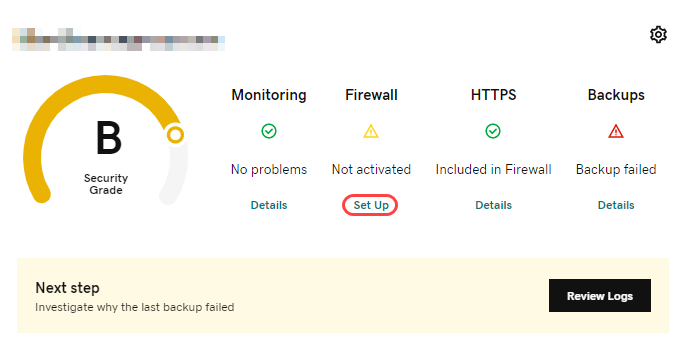
- For the domain you want to setup WAF and CDN, select Set Up under Firewall.
- If your Domain and Website Security plan are in the same GoDaddy account, the set up completes in a few minutes. If your DNS is hosted in a different account, you'll need to do a few additional steps.
Note: At this time you must allowlist your home IP address (otherwise you may have difficulty logging into your website's Admin page). Follow the instructions in Allow or block website access and use Allow IP Address for your home IP address.
Additional steps for DNS hosted elsewhere
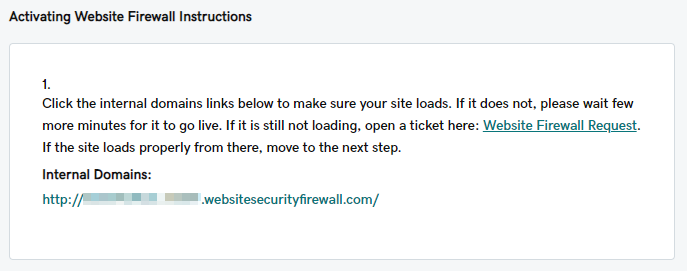
- Use the link supplied under Internal Domains to make sure your site loads correctly.
- Login to the account where your DNS is hosted and configure the A Record so it points to our Website Firewall using the IP address listed under Firewall IP address.
- If you have any cName records that point to @, such as: ftp, cpanel, whm, please update them to A records that point directly to the host IP address.
- Once your A Record has updated, the Website Security dashboard will update and show that the service has been activated. This can take up to 24 hours to complete.
- If you have a firewall on your hosting server like CSF or ModSecurity, we recommend that you allowlist our IP addresses. All connections to your hosting server will pass through our firewall and adding our IPs to your firewall's allowlist will prevent us from being blocked incorrectly. These are the addresses you should allow.
- 192.88.134.0/23
- 185.93.228.0/22
- 2a02:fe80::/29
- 66.248.200.0/22
- 208.109.0.0/22
Required: If you purchased Website Security after 11/14/2023, please use the following procedure.
Set up my WAF and CDN
- Go to your GoDaddy product page.
- Next to Website Security and Backups, select Manage All.
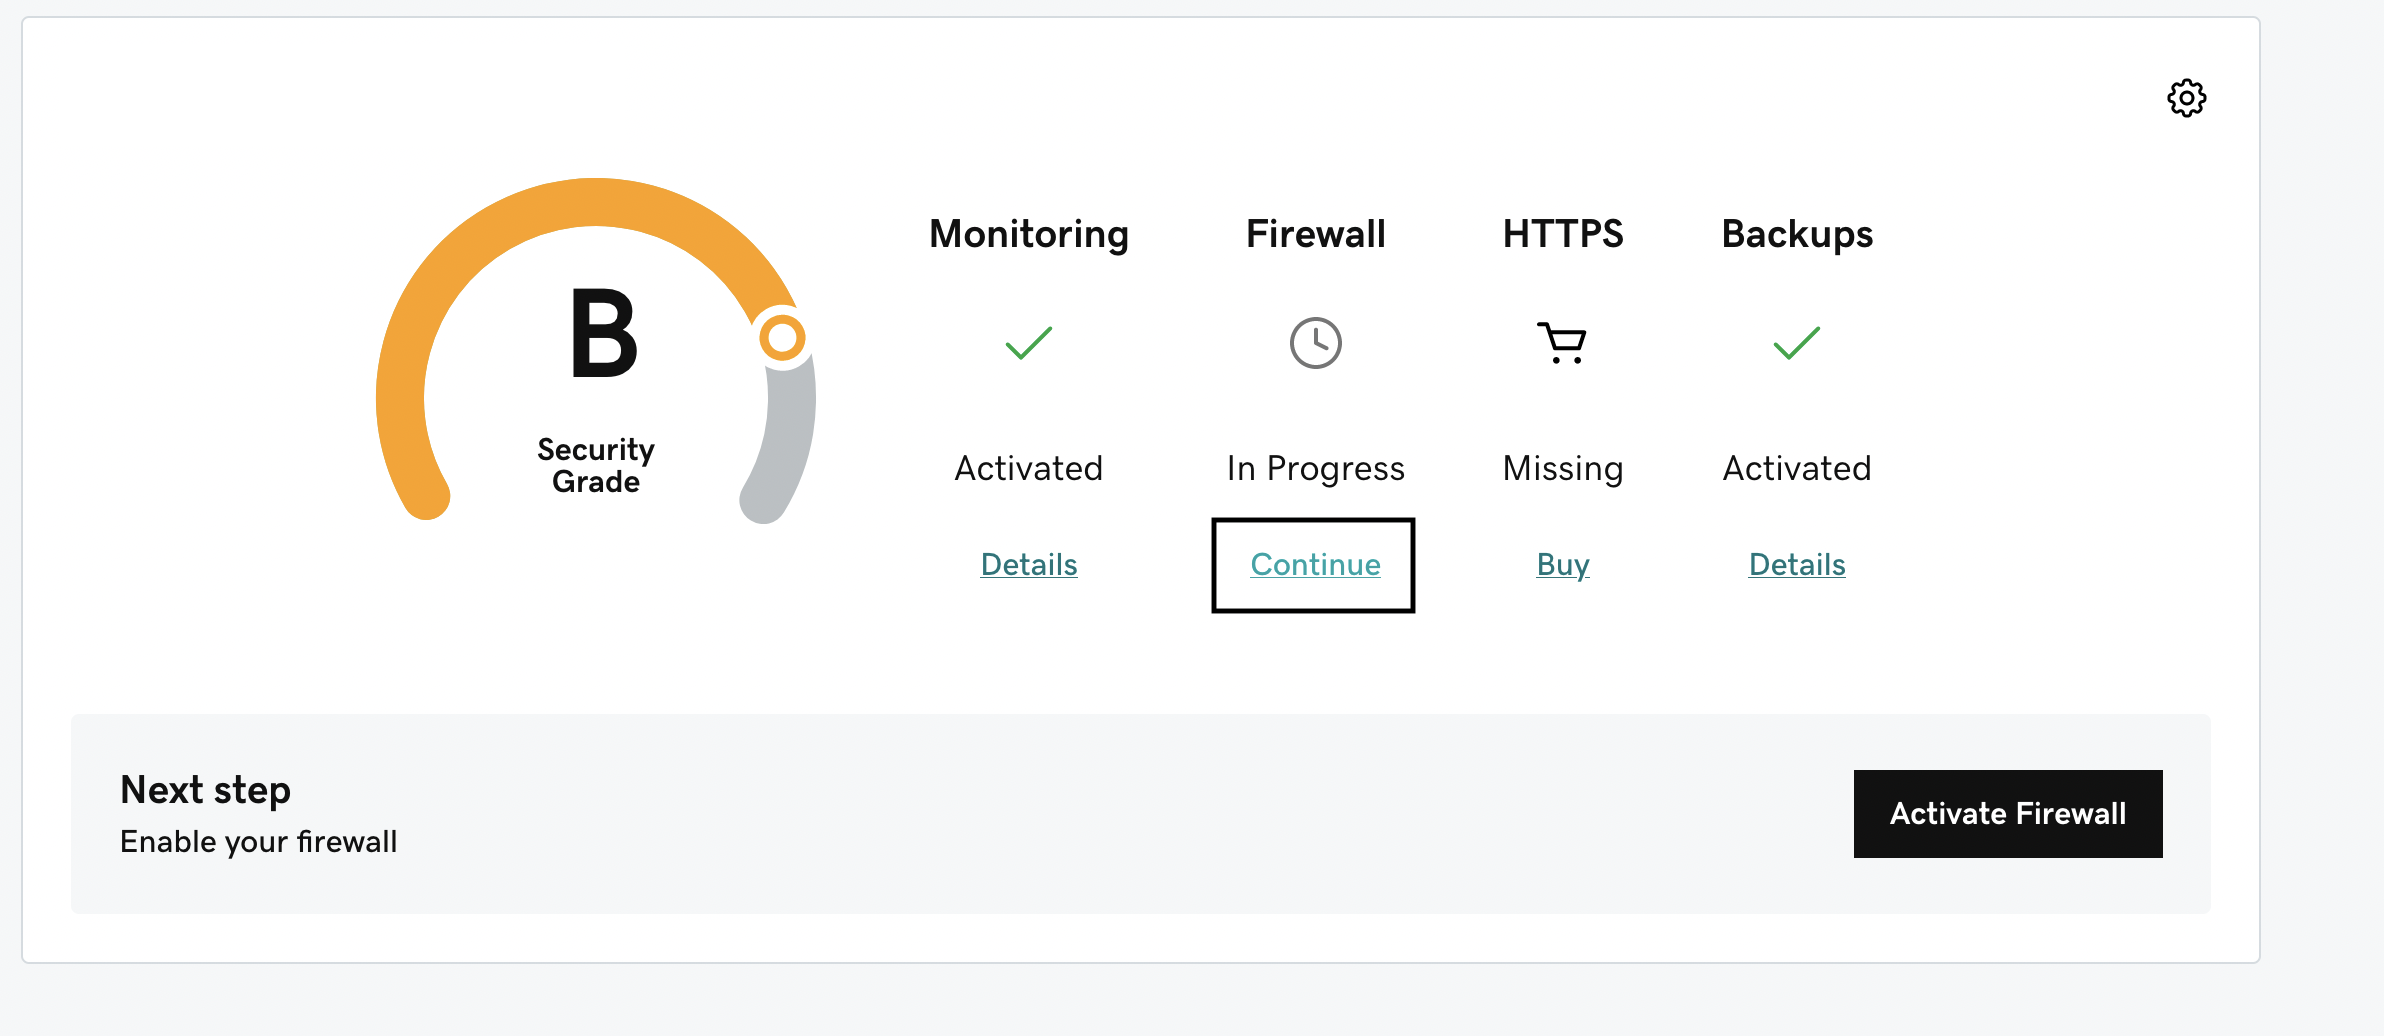
- For the domain you want to setup WAF and CDN, select Continue under Firewall.
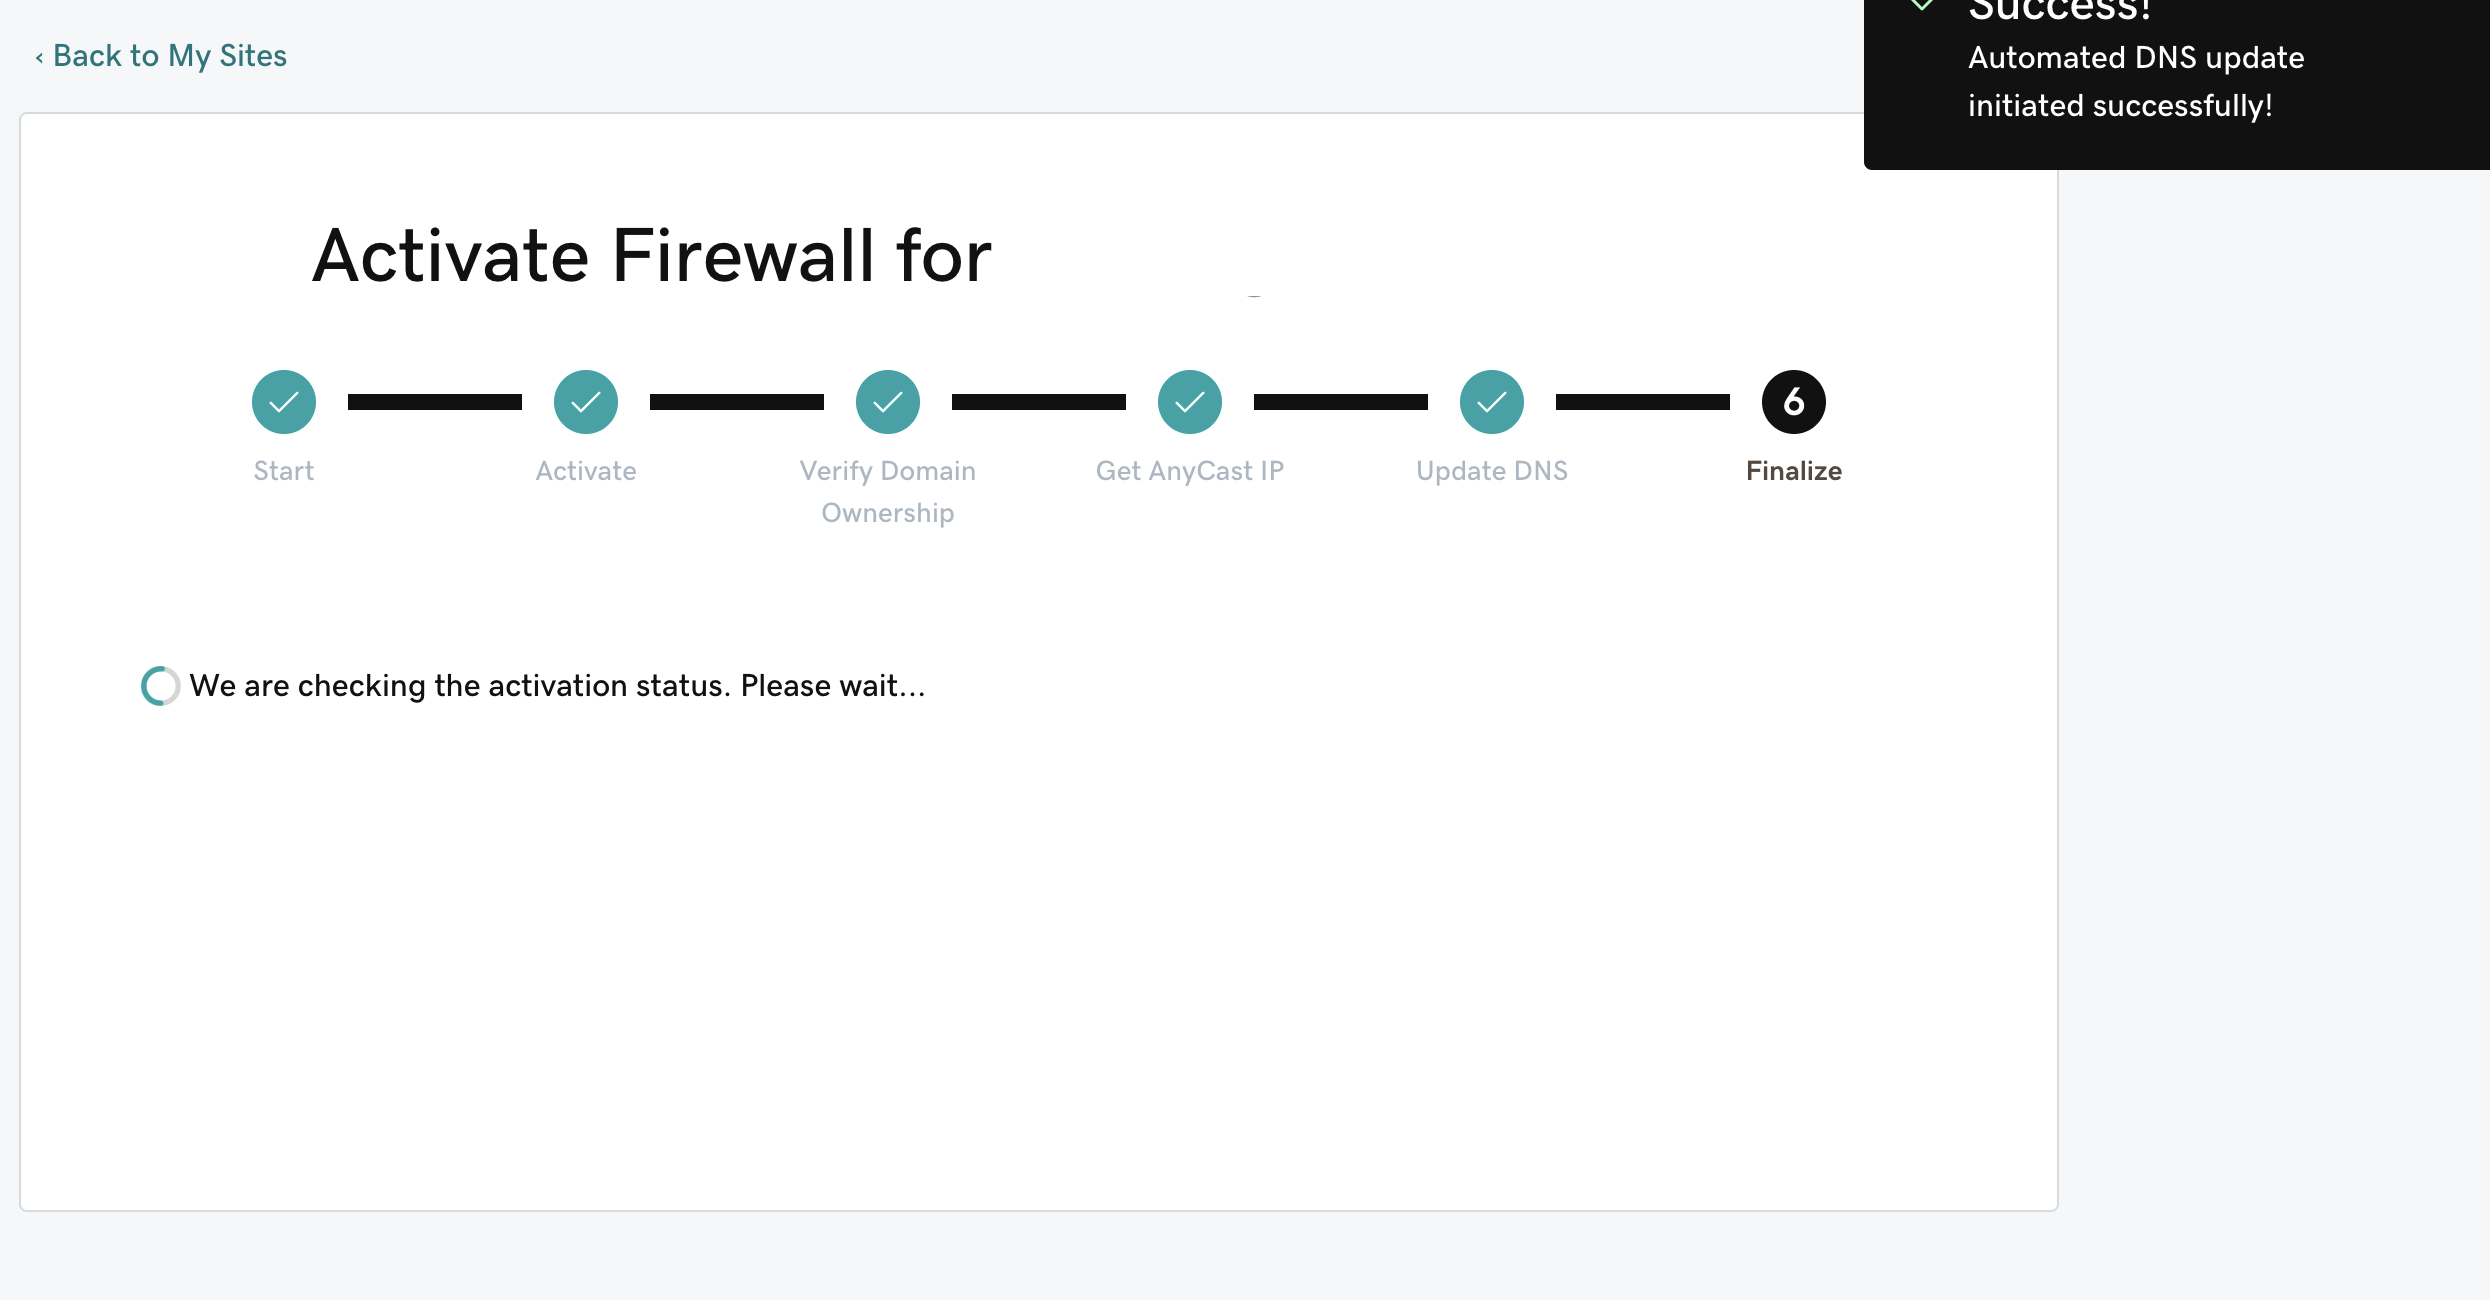
- If your Domain and Website Security plan are in the same GoDaddy account, the set up completes in a few minutes.
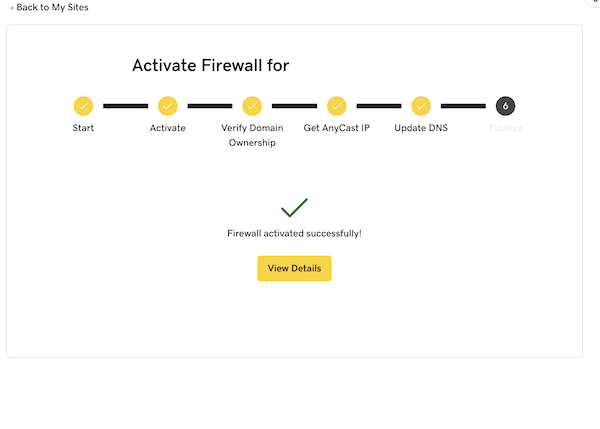
- Once complete, you'll see a Success message.
- If your DNS is hosted in a different account, you'll need to do a few additional steps.
Additional steps for DNS hosted elsewhere
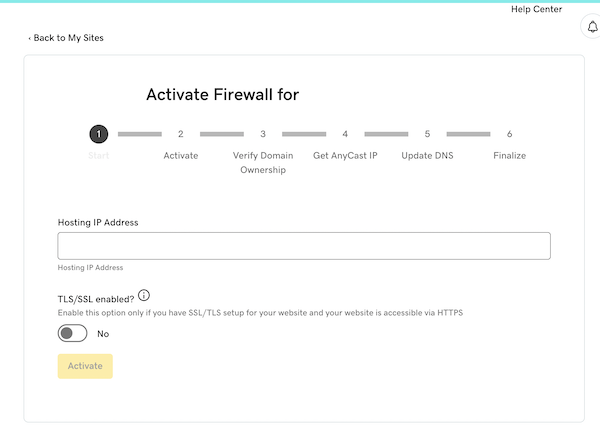
- Ensure the correct hosting IP address is added in the settings and Enable or Disable TLS/SSL.
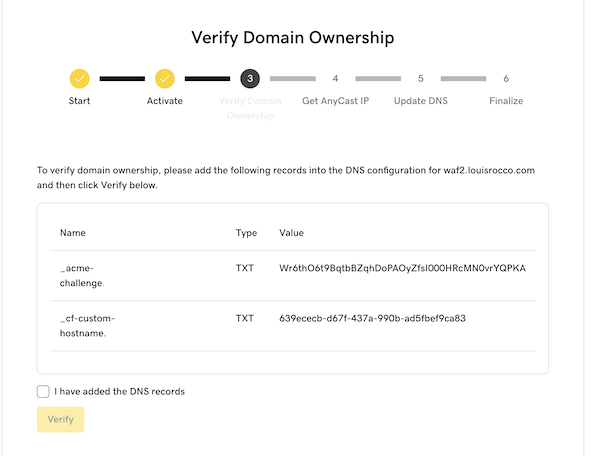
- Verify domain ownsership by adding the 2 or 4 TXT records specified in the setup wizard. Once those have been added, select I have added the DNS records and then select Verify .
- When the TXT records have been verified, you will be provided with the WAF IP address assigned to your site. Please log into the account where the DNS is hosted and configure the A record so it points to the WAF IP address.
- Once your A Record has updated, the Website Security dashboard will show that the service has been activated successfully. This can take up to 24 hours to complete.
Note: If you purchased Website Security Advanced or Premium, the content delivery network (CDN) will be enabled automatically after the IP address change is complete.
