Create my Microsoft 365 email address
Step 1 of the Set up my Microsoft 365 account series.
In just a few steps, we'll get your email up and running. First, let's create your email address in the Email & Office Dashboard.
- Sign in to your Email & Office Dashboard (use your GoDaddy username and password).
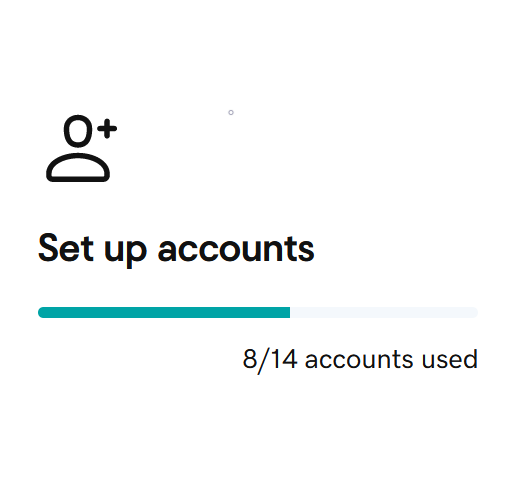
- If you have an existing Microsoft 365 email address from GoDaddy, select Set up accounts. If this is your first GoDaddy email address, continue to the next step.
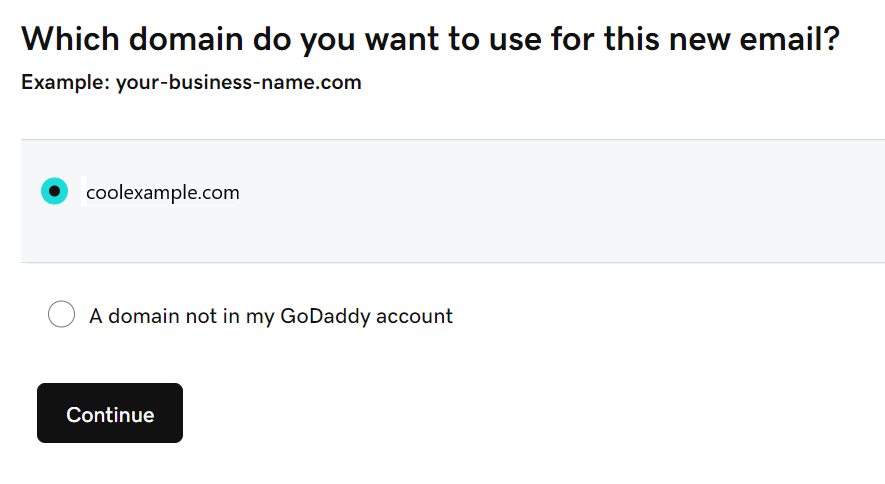
- Select the domain you want to use for your email, and then select Continue.
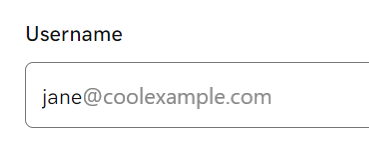
- Enter a Username for your email address (the domain is added automatically, so do not include it).
Example: Use your name like jane@coolexample.com or jpointsman@coolexample.com. Avoid using numbers or special characters, since they're harder for people to remember.
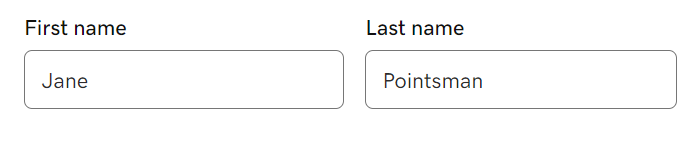
- Enter your First name and Last name.
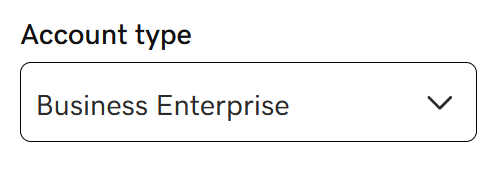
- If you have multiple email account types, you can select the Account type from the list. Otherwise, it will be automatically selected for you.
- To assign admin permissions to the user, select Yes. You can change this at any time, but you must have a least 1 admin per domain.
- Under Create a password, enter a password. Make sure it's different than your GoDaddy account.
- If you already have an email account, it will generate a temporary password and send it to the email address that you enter during step 9. Otherwise, select Create my own password.

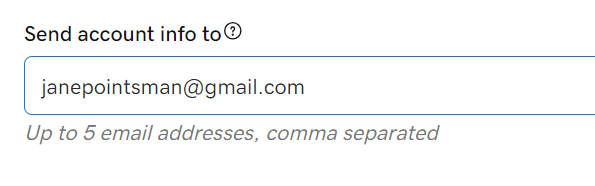
- Under Send account info to, enter the email address where we’ll send the account details.
- Select Create.
Note: If you have Microsoft 365 setup in your account and are creating new email on a different domain for the first time, you may be asked to link the new domain to the existing organization. Linking domains allows users to share contacts and files as if the domains are part of one business. Learn more about linking your domains.
Congrats, you created your first email address!
When your Microsoft 365 email address is ready, we’ll send a confirmation to the email address you provided in step 9. If you don't receive it right away, don't worry. It could take a few minutes.
After you receive your confirmation email, go to the next step where we’ll sign in to your email. Just a few more steps to go.